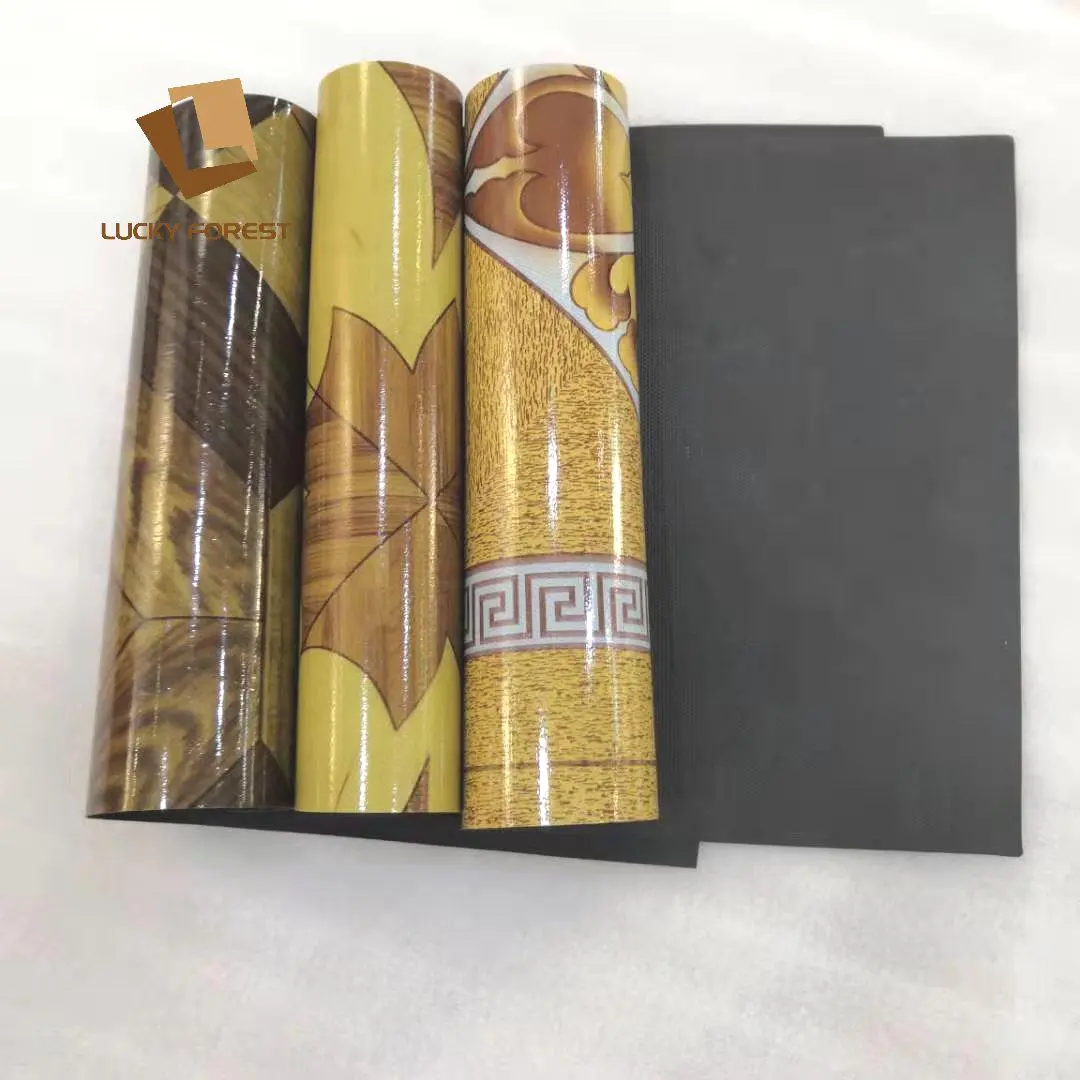
How to cut pvc flooring?
When it comes to cutting PVC flooring the number of choices can be staggering, but the truth is that it is not that hard. Knowing the PVC flooring definition is imperative; it is a flexible plastic material made from polyvinyl chloride, which is usually utilized in a variety of applications, especially residential and commercial flooring. This guide will not only facilitate quick learning, but also tell you how to cut PVC flooring roll quickly and easily with a breeze.
Get Your Tools Together
First of all, you need to collect the tools you are going to use. These include:
- Measuring tape
- Straightedge or ruler
- Utility knife or scissors
- Safety goggles
- Work gloves
All these instruments accessible will surely make cutting not only an effortless but also a safe process.
Check the Measurements
1. Find Out the Dimensions
To begin the process, measure the area where the PVC flooring will be used. Take a measuring tape and measure it very accurately. Jot down both the length and the width of the area for correct size cutting.
2. Make the Cuts
Once you have the measurements, lay these dimensions on the PVC flooring roll. Clearly show the cutting lines using a pencil or a marker. The next phase includes checking the measurements to ensure that there are no errors before cutting.
.jpg?x-oss-process=style/common)
Trimming the PVC Flooring
1. Use the Edge
Under your marked line, put a straightedge or a ruler. This will guide the cutting line and secure it making it a straight line. Make sure the straightedge is firmly in place before you begin the cut.
2. Cut with Knife
Gently cut the material along the line with a utility knife. Even strokes hold steady pressure. Instead of trying to make it all the way on one shot craft, make several lighter passes. This way promises a smooth finish.
3. Scissors for Small Cuts
You can make use of a pair of scissors to cut out smaller sections efficiently without any difficulty. Scissors are better at navigating through the contour of tighter spots and provide greater control.
Smoothing the Exposed Sides
1. Polish the Sides
After cutting, softly run your fingers over the sides to detect any nasty edges. Sandpaper or a fine file does the trick. This step guarantees an immaculate no-snag finish as well as absence of any glitches during installation.
2. Put the Pieces Together
Once your cuts are done, simply lay them on the installation region. Check if they are perfectly matched and are not too loose. Fit together, if necessary, and remove any excess before you fix them in place.
Tips for the Installation
- Leave Enough Room for Expansion: The PVC flooring has the capability of expansion and contraction, sometimes abruptly, when the weather changes. Consequently, it is crucial to leave a small gap at the edges that would permit this movement.
- Applying Adhesive: In case your PVC floor should be glued, you need to roll out the adhesive adhering to all the manufacturer’s guidelines. This step helps to anchor the floor effectively.
Summary
Doing a PVC flooring cutting is a simple task, provided you have the right tools and skills. Getting the PVC flooring meaning and observing these steps give you the possibility of getting professional-looking results. Working with PVC flooring rolls for any home or a business project, great accuracy in measurement and cutting is the key to a good installation. Have a great time with your new floor!