How to install welded mesh fencing?
Welded mesh fencing is strong and simple. It’s widely used for homes, farms, and sports areas. Proper installation ensures long life and great stability. Here’s how to install it the right way.
Prepare the Site
Start by marking the fence line. Clear rocks and debris. Use string to guide your path. This helps keep your diamond mesh fencing straight.
Set Strong Fence Posts
Dig holes for posts. Keep them 2 meters apart. Make holes 50 cm deep. Use concrete to fix the posts. Let it dry for 24 hours before continuing.
| Step | Tool Needed | Notes |
|---|---|---|
| Mark fence line | Chalk, string | Keep it tight and level |
| Dig post holes | Post digger | 50 cm deep minimum |
| Fix posts | Concrete mix | Let dry fully before use |
Attach the Mesh Panel
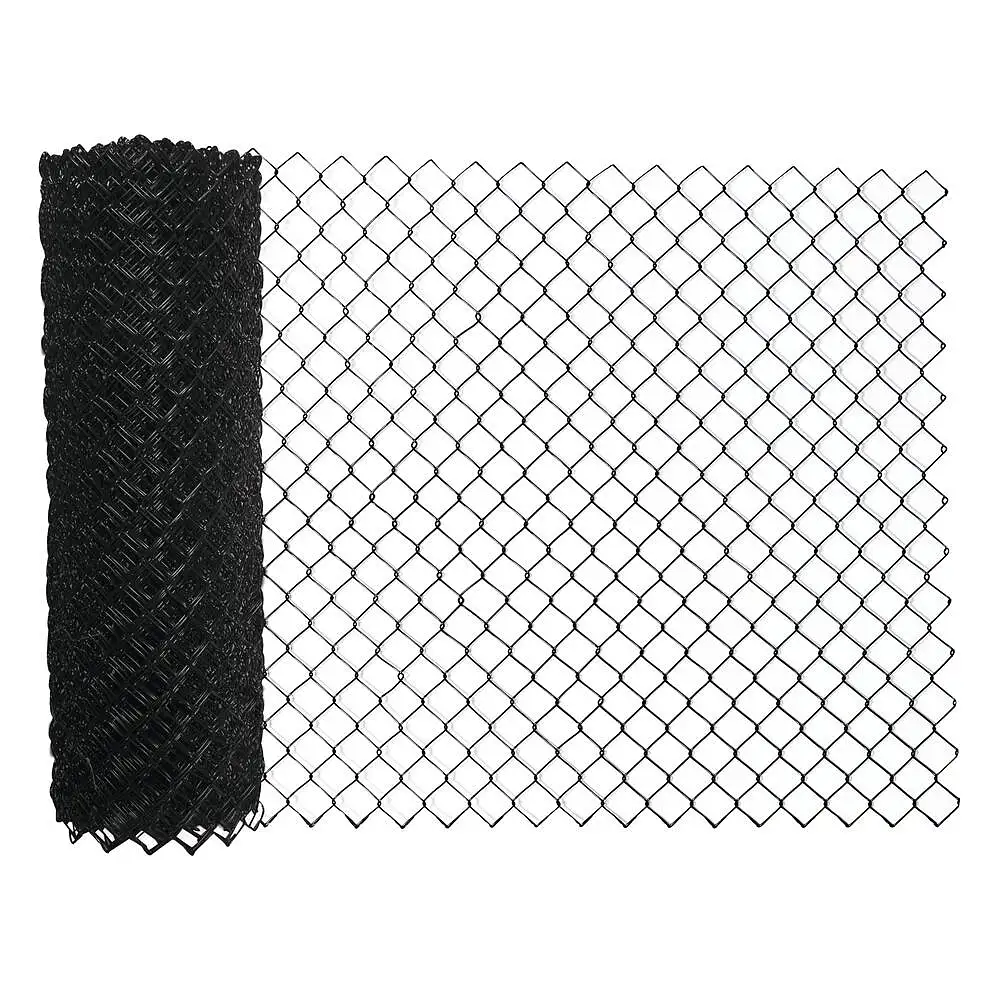
Unroll the mesh and stretch it. Start from one end post. Use wire ties or tension clips. Keep it tight. Secure to every post. Align it with the top edge.
Tighten and Adjust
Use a fence tensioner if needed. It helps make the diamond mesh fencing firm and straight. Hammer in all ties. Trim the extra wire.
Add Finishing Touches
Check for sharp edges. Cover them with caps or tape. Make sure the fence is level. Walk along the full line. Fix any loose points.
Tips for Long-Lasting Results
Use PVC-coated mesh to prevent rust. Avoid installing in wet weather. Always use gloves and safety gear.
Conclusion
Installing welded mesh fencing is easy with the right tools. A tight layout, solid posts, and firm ties are key. Whether you use basic welded panels or diamond mesh fencing, a clean install brings lasting strength and neat looks.