What Is The Difference Between Soy Sauce And Kikkoman?
Soy sauce, a versatile condiment originating from East Asia, has become an indispensable ingredient in kitchens worldwide. Its distinct umami flavor and ability to enhance various dishes have made it a culinary staple. However, amidst the vast array of soy sauce brands, Kikkoman stands out as a prominent name. For those wondering, is Kikkoman soy sauce light or dark, it’s often categorized as a naturally brewed, all-purpose soy sauce, leaning closer to the light variety in traditional Asian classification. Ultimately, the choice between soy sauce and Kikkoman depends on individual preferences and culinary aspirations. Embrace the diversity of flavors and explore the world of soy sauce to enhance your cooking adventures.
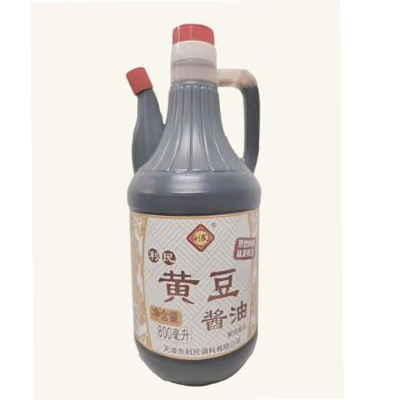
Firstly, let us know about LIMIN dark soy sauces, also a famous brand in China.
Whole Foods Dark Soy Sauce: A Culinary Delight
Whole foods dark soy sauce, also known as “superior dark soy sauce,” is a premium soy sauce that embodies the essence of traditional craftsmanship. Produced using high-quality soybeans, wheat, and salt, whole foods dark soy sauce undergoes an extended fermentation process that results in a rich, complex flavor profile. Its dark brown color and slightly sweet taste make it a favorite among culinary enthusiasts seeking authentic Asian flavors.
The Nutrition Ingredients of Dark Brown Soy Sauce
Dark brown soy sauce is not only a culinary delight but also a source of essential nutrients. It contains various amino acids, vitamins, and minerals, including:
Amino Acids: Soy sauce is a rich source of amino acids, including essential amino acids that the body cannot produce on its own. These amino acids contribute to protein synthesis and play crucial roles in various bodily functions.
Vitamins: Dark brown soy sauce contains several vitamins, including vitamin B1, vitamin B2, and vitamin B3. These vitamins are essential for energy production, metabolism, and overall health.
Minerals: Soy sauce also provides essential minerals such as iron, magnesium, and potassium. These minerals are involved in various bodily functions, including red blood cell production, muscle function, and nerve transmission.
Conclusion: Embracing Culinary Diversity
Soy sauce and Kikkoman soy sauce represent two distinct culinary experiences. While whole foods dark soy sauce offers a rich, traditional flavor and nutritional value, Kikkoman soy sauce provides a consistent, versatile option that has become a household staple.


.jpg?x-oss-process=style/common)
