What is non woven bag?
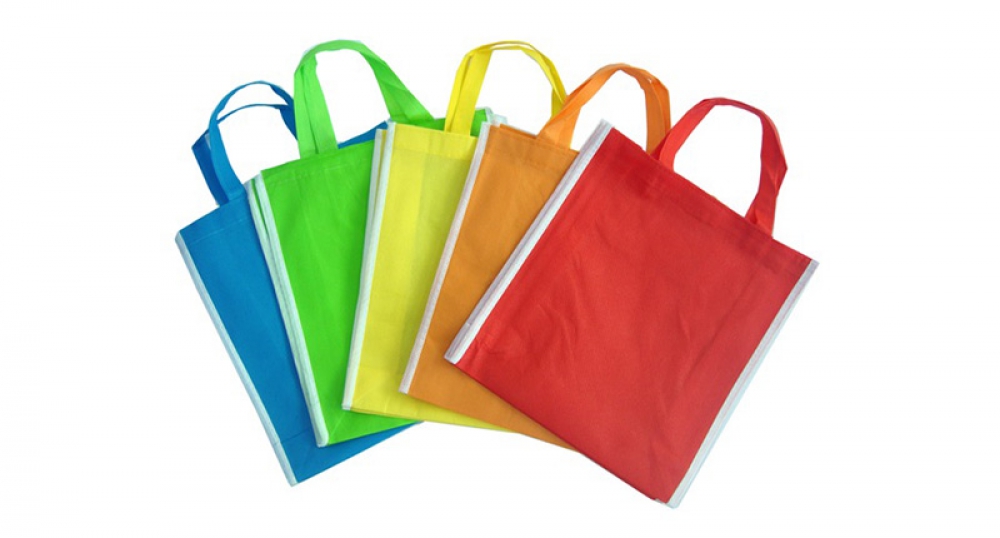
In today’s eco-conscious world, non woven bags have emerged as a sustainable and versatile alternative to traditional plastic bags. Their unique properties make them an ideal choice for various industries, from retail and packaging to healthcare and agriculture.
What are Non Woven Bags?
Non woven bags derive from bonding fibers together without weaving or knitting, crafting a fabric-like material. This process results in a strong, durable, and lightweight material that offers several advantages over woven fabrics.
Types of Non Woven Bags
There are two main types of non woven bags:
what is non woven bag?
Spunbond Non Woven Bags: Continuous filaments spin and bond together to create a smooth and durable material. Meltblown Non Woven Bags: Fine fibers melt and blow onto a surface, resulting in a soft and absorbent material.
Properties of Non Woven Bags
Non woven bags possess several desirable properties that make them suitable for a wide range of applications:
Durability: They are highly resistant to tearing, abrasion, and punctures.
Lightweight: They are significantly lighter than woven bags, reducing shipping costs.
Breathability: They allow air to pass through, making them ideal for packaging fresh produce and other perishable items.
Water Resistant: They can withstand moisture and humidity, protecting contents from water damage.
Recyclable: They are made from eco-friendly materials and can be recycled multiple times. Applications of Non Woven Bags
Non woven bags have a vast range of applications across various industries:
Retail: Shopping bags, promotional bags, gift bags
Packaging: Food packaging, medical packaging, industrial packaging
Healthcare: Hospital gowns, surgical drapes, medical supplies
Agriculture: Seed bags, fertilizer bags, mulch bags
Other: Geotextiles, filtration materials, insulation materials
FAQs
1. What is the difference between spunbond and meltblown non woven bags?
Spunbond bags consist of continuous filaments, whereas meltblown bags consist of fine fibers. Spunbond bags offer greater durability, while meltblown bags are softer and more absorbent.
2. Are non woven bags biodegradable?
Some non woven bags biodegrade, but not all. Biodegradable non woven bags consist of plant-based materials that naturally decompose.
3. Can non woven bags be printed on?
Yes, you can print on non woven bags using various techniques like screen printing, digital printing, and flexographic printing.
Conclusion
Non woven bags are a sustainable, versatile, and cost-effective alternative to traditional plastic bags. Their unique properties make them suitable for a wide range of applications across various industries. As the demand for eco-friendly packaging solutions continues to grow, non woven bags are expected to gain even more popularity in the years to come.